[MediaPipe] WSL Ubuntu 20.04 Mediapipe - MediaPipe 설치
MediaPipe 공식 홈페이지의 안내에 따라 WSL에 MediaPipe를 설치합니다.
(참조: https://google.github.io/mediapipe/getting_started/install.html#installing-on-debian-and-ubuntu)
(1) MediaPipe Repository를 클론합니다.
1
git clone https://github.com/google/mediapipe.git

(2) 클론한 디렉토리로 이동합니다.
1
cd mediapipe
(3) 패키지 매니저를 이용해 컴파일된 OpenCV 라이브러리를 설치합니다.
1
2
3
4
5
6
7
sudo apt-get install -y \
    libopencv-core-dev \
    libopencv-highgui-dev \
    libopencv-calib3d-dev \
    libopencv-features2d-dev \
    libopencv-imgproc-dev \
    libopencv-video-dev

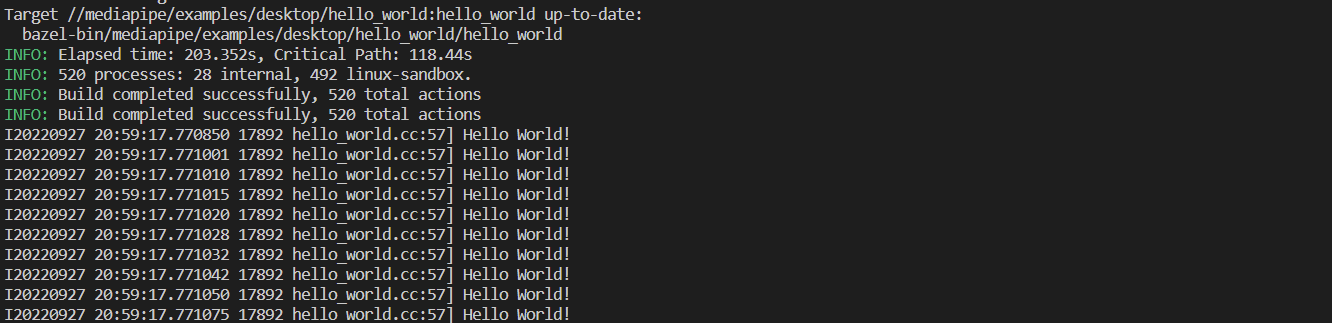
(4) 제대로 설치되었는지 확인하기 위해 MediaPipe에서 제공하는 Hello World를 빌드합니다.
1
bazel run --define MEDIAPIPE_DISABLE_GPU=1 mediapipe/examples/desktop/hello_world:hello_world

아래처럼 Hello World가 나타나면 정상적으로 설치가 완료된 것입니다.