[Airflow] Airflow 예제
[1] dags 폴더에 예제 파일을 작성합니다. 파일 제목은 print_data.py로 합니다.
1
2
3
4
5
6
7
8
9
10
11
12
13
14
15
16
17
18
19
20
21
22
23
24
from airflow import DAG
from airflow.operators.bash_operator import BashOperator
from airflow.operators.dummy_operator import DummyOperator
from airflow.operators.python_operator import PythonOperator
from datetime import datetime,timedelta

dag = DAG('hello-airflow',description='Hello airflow DAG',
          schedule_interval = '*/5 0 * * *',
          start_date=datetime(2021,7,1),catchup=False)

def print_hello():
    return 'Hello Airflow'

python_task = PythonOperator(
                    task_id='python_operator',
                    python_callable = print_hello,
                    dag = dag)

bash_task = BashOperator(
        task_id='print_date',
        bash_command='date',
        dag=dag)

bash_task.set_downstream(python_task)
[2] Airflow DB를 초기화합니다.
1
airflow db init

[3] DB를 초기화 하고 나면 dag list 명령어로 dags 폴더에 넣어두었던 DAG가 DAG 리스트에 등록된 것을 확인할 수 있습니다.
1
airflow dags list

[4] 아래 명령어로 특정 DAG 안에 포함된 Task들도 확인할 수 있습니다.
1
airflow tasks list hello-airflow

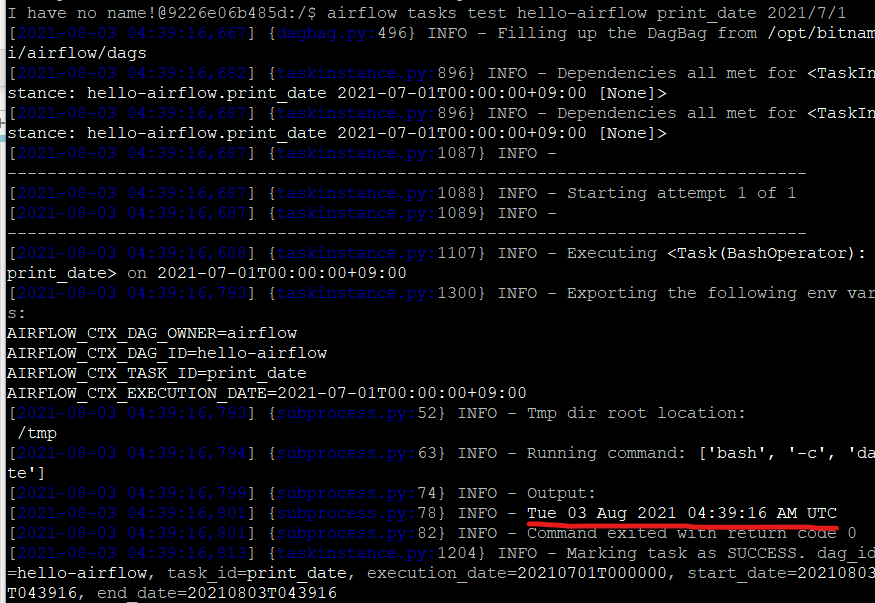
[5] 테스트는 airflow tasks test {DAG ID} {TASK_ID} {기준 날짜} 명령어를 사용하여 Task 별로 시행할 수 있습니다.
1
airflow tasks test hello-airflow print_date 2021/7/1
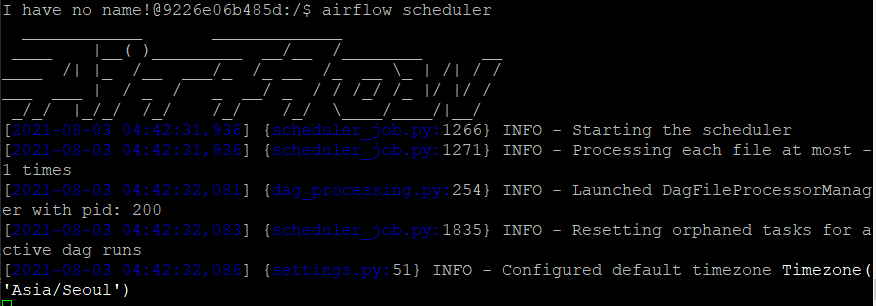
[6] DAG 등록과 테스트가 완료되었다면 airflow scheduler를 실행시킵니다. 그러면 등록된 DAG가 자동으로 실행됩니다.
1
airflow scheduler
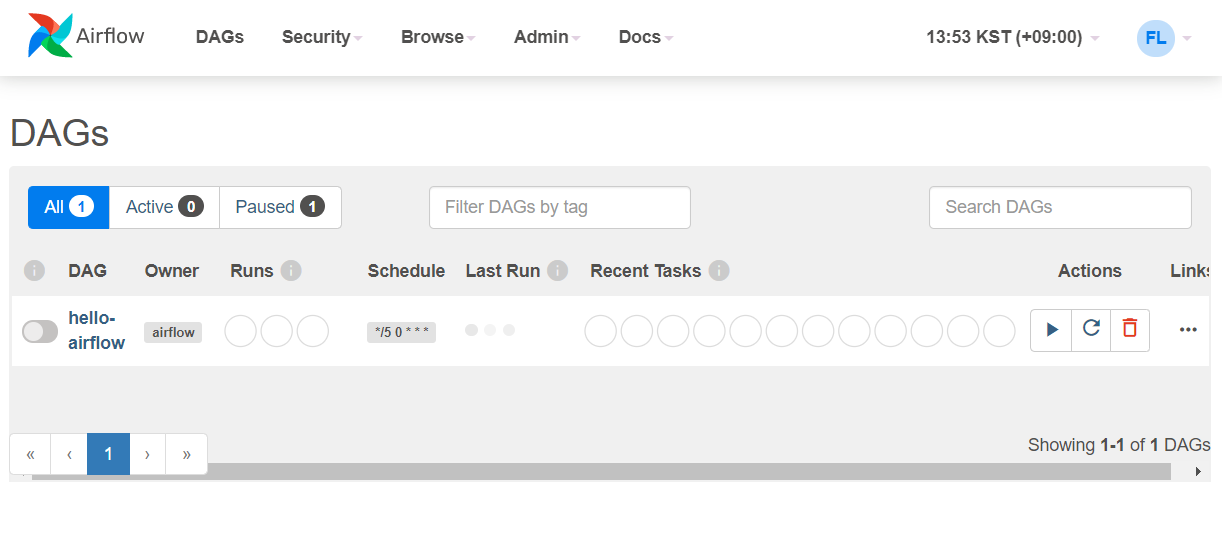
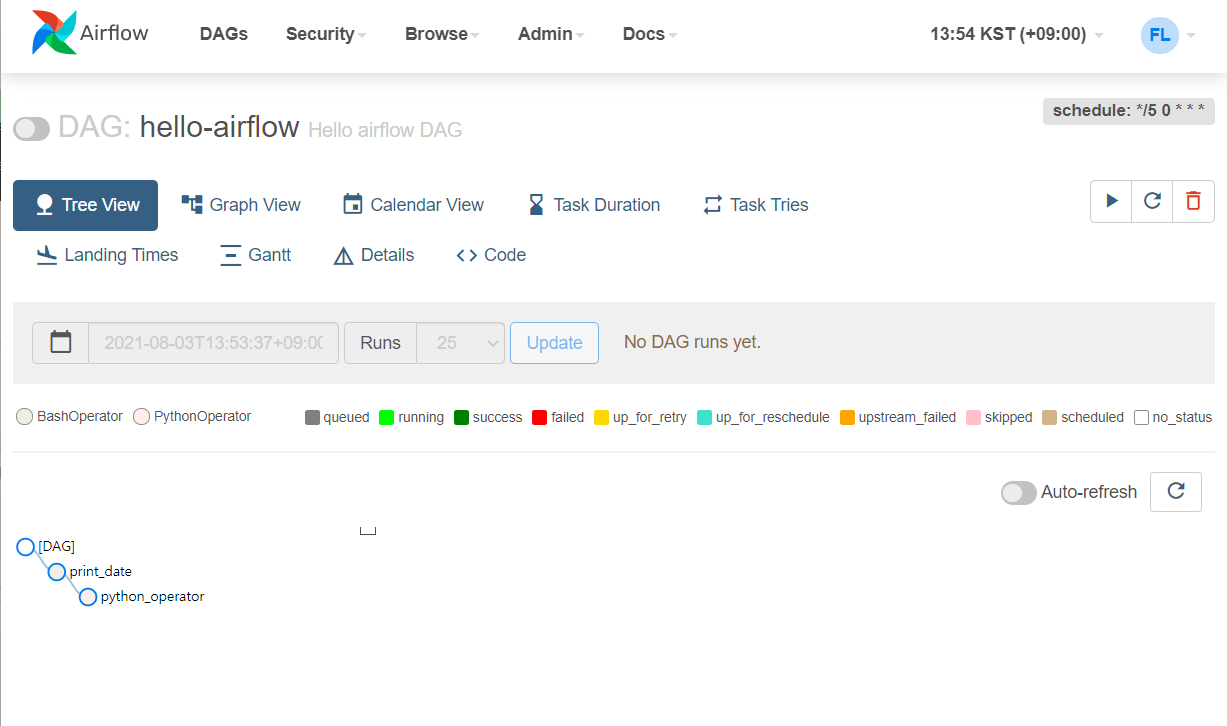
[7] 웹 UI에 접속하면 아래와 같이 등록된 DAG와 그 상태를 확인할 수 있습니다.